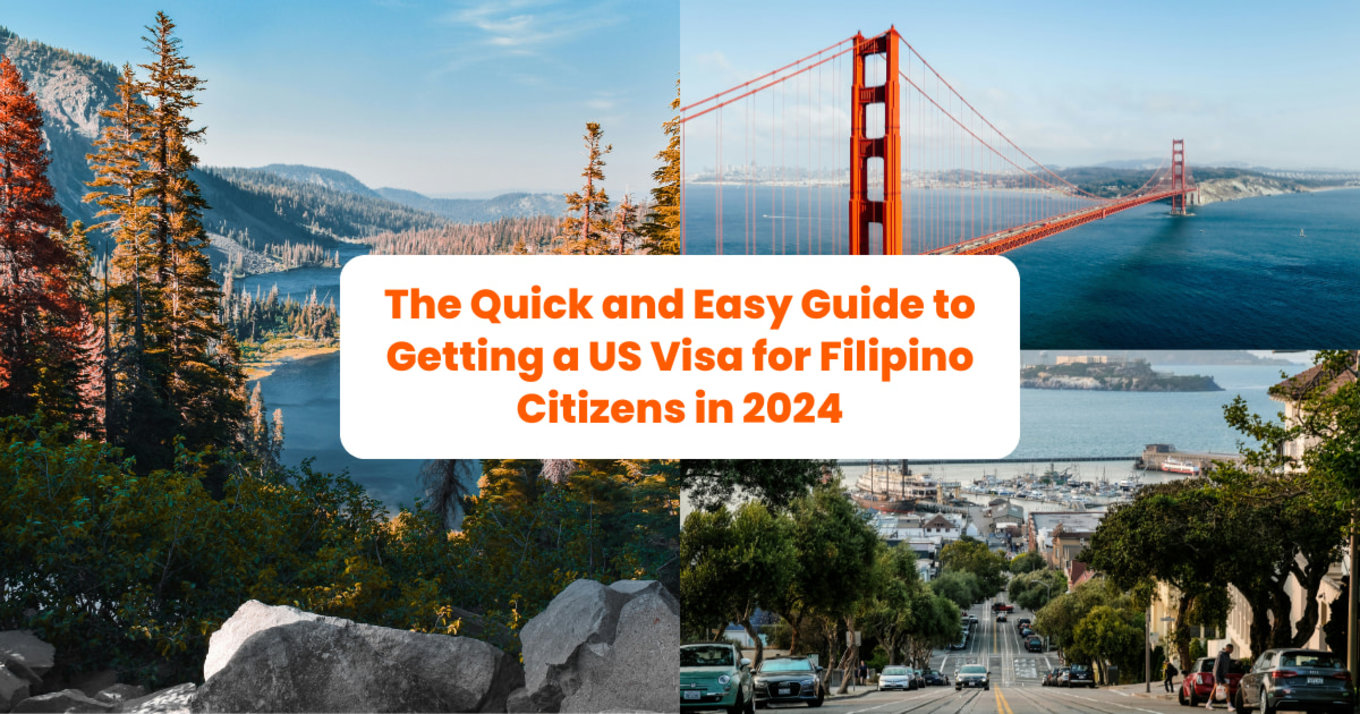
It’s a party in the USA, so grab your Visa!
Planning a dream vacation to the United States but confused about how to go through the US visa application? 🛫 Don’t sweat, we’ve got you! This quick and easy guide will take you through everything you need to know about US visa requirements in 2024. You’ll be strutting down the streets of the Big Apple or cruising through the roads of the West Coast in no time.
The US is known for its diverse landscapes, iconic landmarks, and thrilling attractions that are on every traveler's bucket list. And even if you don’t want to head to the big cities, there are also lots of natural wonders to visit, like Niagara Falls or Yellowstone Park. But, before you can visit, you have to fulfill all the US visa requirements. So, read on! Our guide will provide you with a step-by-step process to make your US visa application simple and stress-free. 📝

More to love in USA!
Essential LA Highlights from Klook
NYC Explorer's Guides
Washington DC Essentials
🥳 10TH BIRTHDAY FLASH DEAL: Get P2,200 off your Disneyland Resort in California Theme Park Tickets!

Visiting California? Make a side trip to the Happiest Place on Earth in Los Angeles! Spend a minimum of P22,000 on Disneyland Resort in California Theme Park Tickets and get P2,200 off! Book and access code here!
1. Create an Account on the US Department of State’s Bureau of Consular Affairs Visa website
Source: Unsplash
Ready to start your journey to the US visa application process? 🛫 The first step is registering and creating an account at the US Department of State’s Bureau of Consular Affairs Visa website. This is where you can keep track of your application, look at the different US visa requirements, check for available interview dates, and verify your payment. Don't worry, it's easy and free to register!
Here's what you need to do:
- Visit the official Consular Affairs Visa website
- Click on "Create an Account"
- Fill in your personal information
- Choose a strong password
- Verify your email address
Once you're set up, you can begin your US visa application for a B2 US visa. These visas are perfect for people looking to visit the US for pleasure, tourist travel, visiting friends and relatives, medical treatment, conferences, and cultural or sports events. Just make sure to answer all questions truthfully and completely to avoid any delays or rejections. 🤞
2. Gather the Required Documents for your US Visa Application

Source: Pexels
When it comes to completing your US visa application, paperwork is a must! The documents that must be submitted are:
- Valid passport (with at least six months validity beyond your planned stay)
- Passport-sized photograph (2x2 inches, taken within the last 6 months)
- DS-160 confirmation page
- Visa application fee payment receipt
- Interview appointment confirmation
Make sure to include both previous and current passports and double-check the information on the DS-160 Confirmation page.
Also, we highly recommend you bring supporting documents such as:
- Certificate of Employment
- Income Tax Return
- Bank statements
- Travel itinerary
- Previous US visas (if applicable)
Just remember that all documents should be the original copies unless otherwise stated. Don’t forget to regularly check the official Consular Affairs Visa website to ensure you haven’t missed any of the US visa requirements. 😎
3. Fill out the DS-160 form online

Source: Unsplash
Hop online and fill out the DS-160 form, which is specifically designed for non-immigrant visa applicants. This is the appropriate form for a B1/B2 US Visa application. And don't worry, the form is clear and straightforward. It just consists of personal, travel, and work questions that you need to answer accurately and completely.
Here's how to complete it:
- Visit the official Consular Electronic Application Center website
- Select "Philippines" as your location
- Fill out the form accurately and completely
- Upload a recent 2x2 photo meeting US visa photo requirements
- Review all information before submitting
- Print the DS-160 confirmation page
If you can't provide precise or factual information immediately, you can always save your application and return to it later. Once you've completed the form, you'll need to upload a 2x2 photo of yourself with a white background, taken within the last six months. Remember to print it out and bring it with you, as it is one of the US visa requirements you present when you arrive at the embassy. 📸
Klook Tip: For the 2x2 photo, we recommend you go for that au naturel look when you take your photo. No colored hair, or accessories, or make-up. The US Embassy also no longer allows ID Photos taken with glasses, so make sure to look as simple and plain as possible. 🤳
4. Pay for the US visa application fee
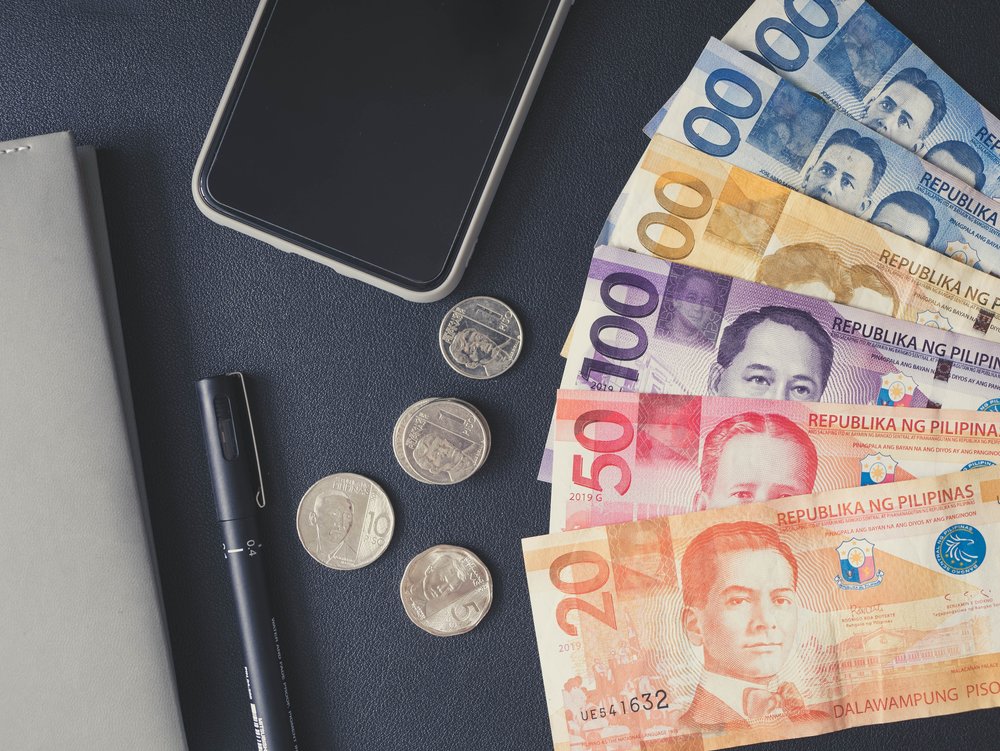
Source: Pexels
Now, after all the paperwork, it’s time to pay. 💳 Thankfully, it’s a pretty simple process. As of writing, the standard tourist visa fee is US$185 (around 10,800 PHP). It’s also non-refundable whether your US visa application gets accepted or not. You can pay through Over-the-Counter (OTC) deposits or online transactions.
Over-the-Counter (OTC) Payment:
- Download the visa deposit slip from the official website
- Present the slip at approved banks
- Keep the receipt as proof of payment
For OTC payments, you need to download a specific visa deposit slip to present to the bank. Be aware that these slips have expiration dates, so pay within the given timeframe, or you won't be able to choose an interview date.
If you prefer online transactions, note the necessary information to process your payments and enroll your US visa for online bill payment. Once your payment has been processed, you will receive an email confirmation, which you'll need as one of your US visa requirements.
Online Payment:
- Use the online bill payment system
- Follow the instructions for US visa fee payment
- Save the email confirmation
After confirming your payment, wait for a minimum of four hours before booking your appointment date. Now you’re one step closer to getting that visa, and enjoying the trip of a lifetime! 🗽
5. Schedule and Prepare for your Interview Appointment

Source: Freepik
You’re almost there! Now, it’s time to schedule your interview appointment date. 📅 First, check out the available dates on the official Consular Affairs Visa website. But hold on, don't get too excited yet! Make sure you have all your US visa requirements ready before confirming a date.
Booking your interview appointment date can be done either online through the website or by calling their hotline. 📞 If you choose to book online, select your preferred dates and follow the prompts to successfully book your appointment. You'll receive a confirmation email after completing the process. Don't forget to print it out, as it will be part of your US visa application. Whichever method you choose, make sure to arrive on time for your interview.
Booking online:
- Log into your account on the Consular Affairs Visa website
- Select your visa type (B1/B2 for tourism/business)
- Choose your preferred interview date and time
- Confirm your appointment
- Print the appointment confirmation
6. Take the Interview at the US Embassy

Source: Freepik
For your final step in your US visa application, don’t forget the following: dress to impress, arrive early, and speak politely. 😊 Don’t stress but remember that the interview will be conducted by a US Consul, so know your application like the back of your hand. Review all US visa requirements you submitted, as most questions will likely come from them.
Before the Interview:
- Review your application and supporting documents
- Practice answering potential questions about your trip
- Dress professionally
On the day of your appointment, make sure to leave your gadgets at home since these are not allowed inside the embassy (it’ll be a great chance for a digital detox!). Also, be punctual, and arrive 15 minutes before your scheduled interview. During the interview, make sure to speak English and respond appropriately. Avoid over-elaborating, but also avoid giving just one-word answers. And most importantly, don't forget to flash a smile! You are going on vacation, remember? 🏖
During the Interview:
- Speak clearly and confidently in English
- Answer questions honestly and concisely
- Demonstrate strong ties to the Philippines
Klook Tip: Remember that the US Consul’s main job is to ensure that you will return to your home country and that your visit to the US is for a legitimate purpose. Show that you’ve got strong ties to your home country, such as a stable job or family commitments, to show that you have no intention of overstaying in the US. 👋
7. Relax and wait to receive your US Visa

Source: Pexels
Congratulations, you've made it through the US visa application process! Now it's time to sit back and wait for your visa to be approved. 🎉 To check the status of your application, simply go online and access your account. But don't get too antsy just yet – it's important to wait at least three business days following your visa interview before checking on the status of your application. ⏳ Be aware though, that processing times for your US B2 visa can vary depending on the country you're applying from, ranging from weeks to months.
If approved, your B1/B2 visa typically allows:
- Multiple entries to the US
- Stays of up to 6 months per visit
- Validity for 10 years (unless otherwise specified)
Once you have your B-2 tourist, you can enter the United States and stay for up to 6 months, as US Customs and Border Protection granted upon arrival. If you're looking to extend your stay beyond 6 months, it may be possible to apply for an extension for up to one year as long as you have the relevant US visa requirements. 🇺🇸
Frequently Asked Questions:
How long does it take to process a US visa for Filipino citizens?
Processing times can vary, but typically it takes 3-5 business days after your interview for a decision to be made. However, some cases may require additional administrative processing, which can take several weeks.
Can I apply for a US visa if I've been denied before?
Yes, you can reapply for a US visa even if you've been denied before. However, you should address the reasons for your previous denial in your new application.
How much money should I have in my bank account for a US visa?
There's no specific amount required, but you should be able to demonstrate that you have sufficient funds to cover your expenses during your stay in the US.
Can I apply for a US visa if I'm unemployed?
While being employed can strengthen your application, it's not a strict requirement. You'll need to demonstrate strong ties to the Philippines and your ability to finance your trip.
How far in advance should I apply for a US visa?
It's recommended to apply at least 3 to 4 months before your planned travel date due to potential processing delays and limited appointment availability.
Get P2,200 off your Disneyland Resort in California Theme Park Tickets!