
Travel to America!
Many Filipinos have always dreamt of traveling to the US but hesitate doing so because of the strict visa requirements. But the American Dream is about to come true cause’ Klook’s here to break down the visa application process for you! Keep reading to learn additional tips and tricks in putting together a solid application!
*Update 06/03/2019: The US State Department is now requiring US Visa applicants to submit social media profiles (from the last five years) as part of the online application. More information below.
How to Apply for a US Visa:

1. Register at the U.S. Department of State’s Bureau of Consular Affairs Visa Website
The first step to applying for a US visa is to register and create an account at the U.S. Department of State’s Bureau of Consular Affairs website. If you are traveling in a group, you can all register under one account! This is also where you can keep track of your application, check for available interview dates, and verify your payment.
For the purpose of this visa guide, we will only be providing the steps to a B1/B2 US Visa. A B1/B2 Visa is issued to applicants wishing to visit the US for pleasure/tourist travel, visiting friends and relatives, for medical treatment, conferences, and cultural or sports events.
Steps to Register:
- Click on “New Application/Schedule Appointment” on the menu. After, select the following:
- Visa Type: Nonimmigrant Visa
- Post: Manila
- Visa Category: Business/Tourism
- Visa Class: B1/B2
- Fill in sheet for Personal Data
- Choose how you would like to receive your passport.
Make sure to always “Save” your information. Once you submit your this, you can no longer change the information indicated on it. So before sending it out, double check and make sure that all information is factual and can be backed up.
*06/03/2019 Update: US Visa applicants are now required to input all their social media profiles, that have been active for 5 years, onto the application. In this order, the listed social media platforms in the portal were: Ask.fm, Douban, Facebook, Flickr, Google+, Instagram, LinkedIn, MySpace, Pinterest, Qzone (QQ), Reddit, Sina Weibo, Tencent Weibo, Tumblr, Twitter, Twoo, Vine, Vkontakte (VK), Youku, and Youtube. This requirement comes as the United States starts to tighten vetting procedures for its immigrant and non-immigrant visitors. Those applying under diplomatic and official visas are exempted from this requirement.
2. Accomplish the DS-160 Form

Every applicant will need to accomplish the DS-160 Form, which is designed for non-immigrant visa applicants who are looking to tour, work, visit relatives, and so on.
The form has a mix of personal, travel, and work questions that you will need to answer and complete. In case you are unable to provide accurate or factual information on the spot, save your application and get back to it once you’ve verified the data you need.
The final thing you need to do for this application is to upload a 2×2 photo of you with a white background, taken at least six months prior. For specifications set by the U.S. embassy on the digital photo you need, click here. The U.S. Embassy also no longer allows ID Photos taken with glasses, so make sure to adjust accordingly if needed.
Print the DS-160 Form as it is one of the required documents.
3. Pay the Visa Application Fee

The standard tourist visa fee costs $160, which at the time of writing, is around Php 8,550. Whether you get denied or approved, this is a s non-refundable fee that can be paid through OTC deposits or online.
- Over-the-counter payments: You will need to download and present this visa fee deposit slip to the bank when you pay. Take note, these deposit slips do have expiration dates so make sure to pay within the given time frame. If you are unable to do so, you will not be able to choose an interview date.
- Online transaction: You can choose either BPI or Bancnet for your online transactions. Take note of the BPI reference number and the Bancnet reference number to successfully process your payments. Afterwards, enroll the U.S. visa for your online bill payment. Refer to this PDF file for BPI, and this PDF file for Bancnet. As soon as payment has been processed, you will receive an email confirmation which you will also need to print as part of your application.
4. Confirm Payment
After paying for the visa, enter your receipt number in this weblink. Once you’ve confirmed your payment, wait a minimum of four hours before booking your appointment date.
5. Book your Interview Appointment Date

You can find the available interview dates at the bottom of this page. Before finalizing on a date, you should consider the amount of time you would need to gather all your required documents.
Scheduling your Interview Appointment Date
- Online Booking
- Select your preferred dates here to successfully book your interview appointment.
- Print out the confirmation email that you will receive as part of the application.
- Call to Book
- Call (02) 548 8223 or (02) 792 8988
- Hotline is open from 8:00 AM to 8:00 PM, Monday through Friday (excluding U.S. and Philippine holidays)
6. Prepare the required documents
Like most embassies, applicants are required to provide documents that will serve as evidence of ties and financial capacity among others. Take note that all documents need to be original copies, unless stated otherwise.
Here’s the list of required documents:
- Passport(s)
- Include previous and current passports
- DS-160 Confirmation page
- Deposit receipts
- Appointment confirmation
- Soft copy of 2×2 photograph
Here’s a list of supporting documents (not required but recommended here)
- Certificate of Employment
- Income Tax Return
- Bank Certificate
- Sample Itinerary
- Documents of previous visit/visa to the U.S.
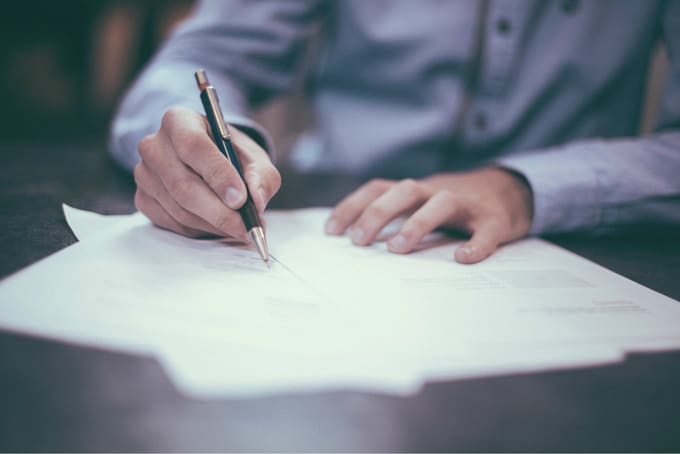
7. Attend your Interview at the US Embassy

The interview will be conducted by a U.S. Consul, so make sure you know your application like the back of your hand. Most of the questions will most likely come from the documents you will submit, so it’s incredibly important that you know the data you’ve indicated.
U.S. Embassy Manila
1201 Roxas Blvd, Ermita, Manila,
1000 Metro Manila
Reminders for your Interview Appointment day:
- Leave your mobile phone, tablets, and any other electronic device at home. These are prohibited in the U.S. Embassy.
- Be inside the embassy 15 minutes before your scheduled interview. You can kill time at the nearby cafes, so it’s better to be super early!
- Communicate in English and respond appropriately! Do not over-elaborate or provide one-word answers. Remember to smile, too!
Additional Tips for Applying for a US Visa:
1. Supporting documents will really help!
Apart from the required documents, it really helps to include supporting documents that will prove your ties to the Philippines. Illegal immigration is a huge problem in America, which is why they’re very strict with visa applications. So, help them out and include these recommended list of supporting documents to your application.
2. Be confident!
You need to present yourself to the consul in an appropriate manner. Do not be intimidated, they are just doing their job! And as long as you have nothing to hide, there’s no reason to be nervous. Just make sure that you’re well prepared and be as calm as possible so as not to put off the consul.
3. Dress appropriately!
We recommend wearing smart casual or business casual to your appointment. First impressions matter here – and this can definitely help with your confidence!
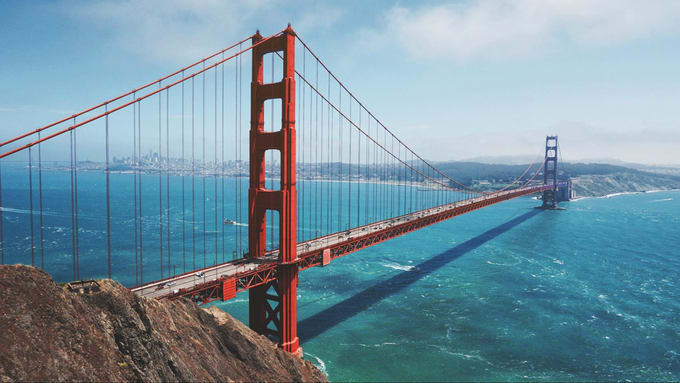
Klook your way to the U.S.!

Once you’ve got your visa, it’s time to plan out your trip to America! With Klook you can relive your favorite TV shows in Los Angeles, explore the numerous parks in Orlando Disney World, get admission to the Top of the Rock in New York, or even skydive in Hawaii! To get you started, make sure to pre-book an airport transfer first. Airports in major US cities can have long taxi lines. Avoid the hassle by booking an airport transfer ahead of time.
The opportunities are endless, so start booking your travel adventures today!