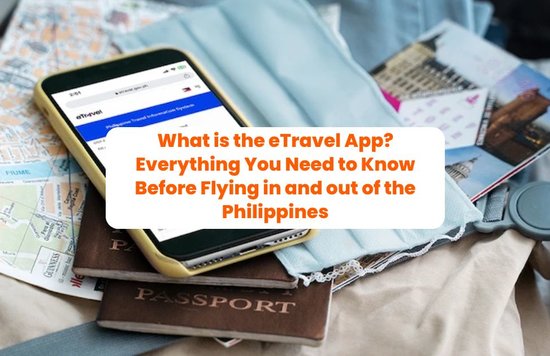
Why ETravel Philippines Registration Matters
Before you hop on that flight, let’s talk about the ETravel Philippines registration—your digital arrival and departure card. Gone are the days of filling out multiple paper forms; now, everything is done online. When I first tried it, I honestly felt relieved that I didn’t need to juggle papers at the airport anymore—it really streamlines the whole experience.
This system is not just about convenience—it helps immigration, health, and tourism authorities manage passengers smoothly, and even strengthens safeguards against issues like human trafficking.
Get 6% off on us!

Explore the Philippine with these amazing Klook deals!
Paying Your Travel Tax Through the ETravel App

eTravel app (Source: eTravel)
Here’s more good news: you can now settle your Philippine travel tax directly through the ETravel app via the eGovPH platform. No more scrambling at the airport counters or hunting down the right website—just log in, declare your trip, and pay using GCash, Maya, or your debit/credit card.
Since the system is integrated with TIEZA, your payment links seamlessly with your ETravel Philippines registration, and you won’t be able to generate your QR code until your travel tax is cleared. It’s a smarter, paperless way to make sure everything’s squared away before you even check in. I used to queue up at airport counters for this, but paying via the app felt like a game-changer—it took me less than five minutes.
Here’s the golden rule:
- Filipinos need to register when flying in or out of the country.
- Foreign travelers only need to register when entering the Philippines.
- Diplomats and certain official passport holders? They’re exempt.
Think of the ETravel app and website as your fast pass through immigration and customs—saving you time for the more exciting parts of travel!
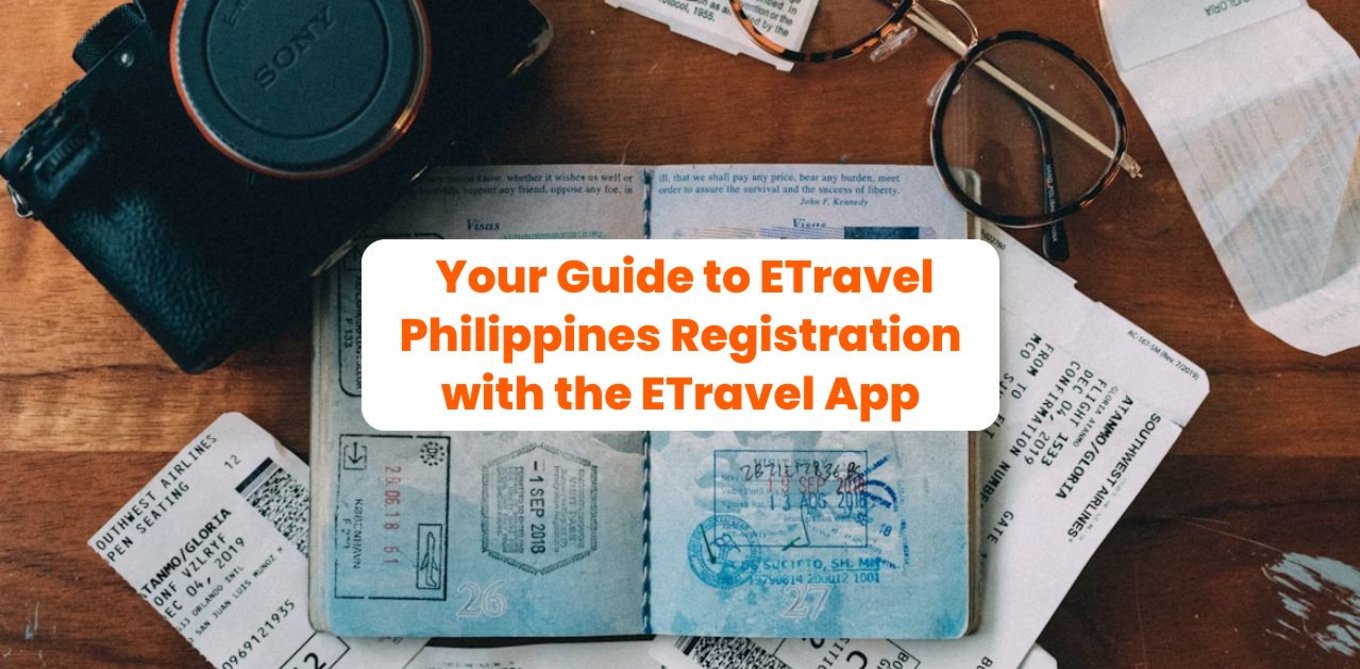
How to Complete Your ETravel Philippines Registration
Ready to get started? Here’s a simple walkthrough:
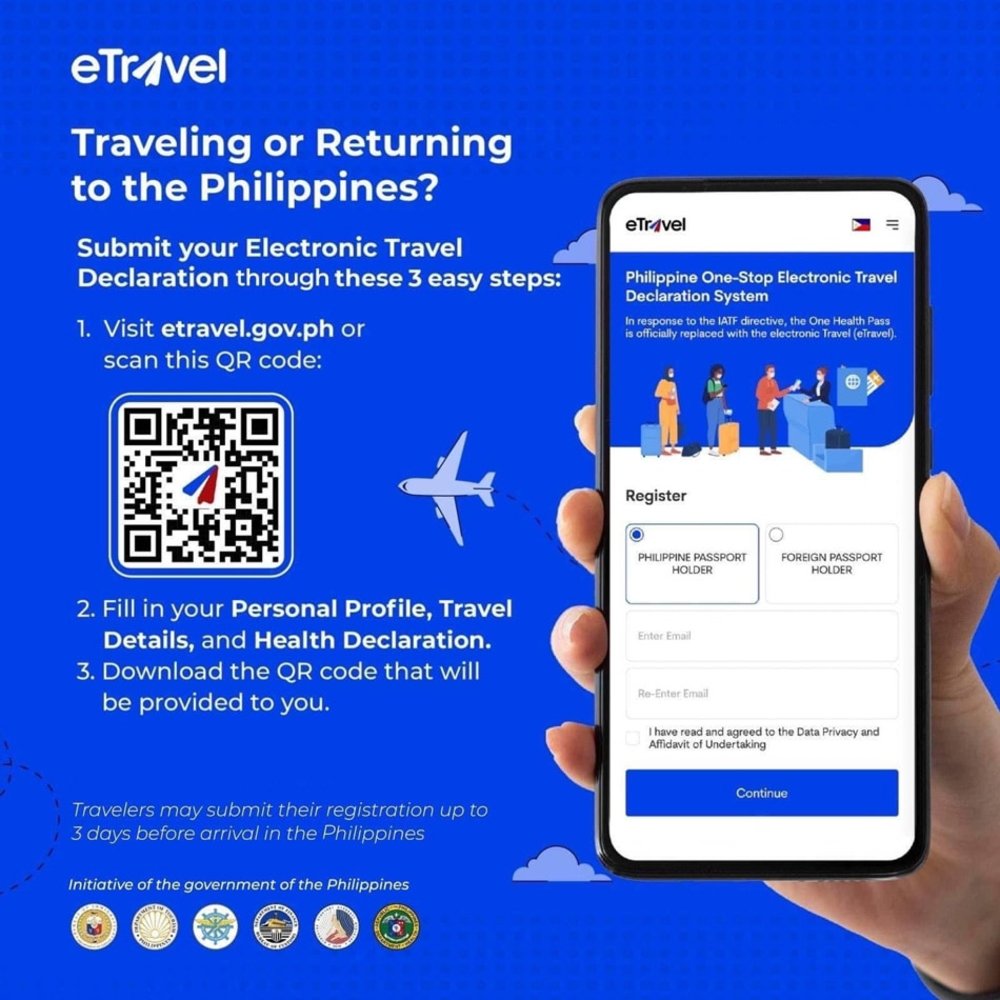
- Visit the Site: Go to etravel.gov.ph and create your account. You’ll need a valid email to verify. Keep your login details safe—you’ll use the same account for future trips.
- Enter Your Information: Fill in personal details exactly as they appear on your passport. This includes your full name, birthday, sex, nationality, passport number, contact info, and permanent address. Accuracy is key here!
- Declare Your Trip: Click “New Travel Declaration.” Choose whether you’re registering for yourself or for immediate family members (like children). Select if you’re arriving in or departing from the Philippines.
- Travel Details: Add your flight number, airline, airport of origin, destination, and purpose of travel (vacation, work, returning resident, etc.). If you’re transiting through another country, indicate that too.
- Destination Address & Health Check: Staying in a hotel? Input the name and address. Returning resident? Just mark your permanent home address. You’ll also answer quick health-related questions for monitoring purposes.
- Review and Submit: Double-check everything, sign digitally, and hit submit. Done!
Your ETravel QR Code—Don’t Lose It!
Once your ETravel Philippines registration is approved, you’ll instantly receive a QR code. Save it in multiple ways:
- Screenshot it on your phone.
- Keep the email confirmation handy.
- Print it out if you’re more comfortable with paper.
Here’s how it works:
- For arrivals, your QR code will be scanned at customs. A green QR means you’re good to go, while a red QR may require further checking.
- For departures, you may need to present it at airline check-in or immigration counters.
Pro tip: If you ever lose your QR code, you can retrieve it through the “Edit Registration” function on the site by using your reference number and date of birth. On my last trip, I forgot to screenshot my QR—but luckily, retrieving it through the site only took seconds.
Smart Travel Tips for a Smooth Experience

eTravel app (Source: eTravel)
- Always use the official etravel.gov.ph website or access it via the ETravel app on eGovPH—it’s free!
- Register within the 72-hour window before your flight (not earlier, not later).
- Infants and kids also need their own ETravel Philippines registration, so parents should handle it in advance.
- If your flight lands past midnight, input the actual arrival date (not the previous day).
- Keep your flight ticket and travel documents nearby while registering—you’ll need the details.
Final Takeaway
Completing your ETravel Philippines registration may feel like one more step in your travel checklist, but trust us—it makes the whole process much smoother. Whether you’re flying home, heading out for work, or visiting the Philippines for the first time, registering through the website or the ETravel app keeps things stress-free.
So, don’t wait until the last minute. Get your registration done, keep your QR code handy, and enjoy a worry-free journey to or from the Philippines.
Safe travels!