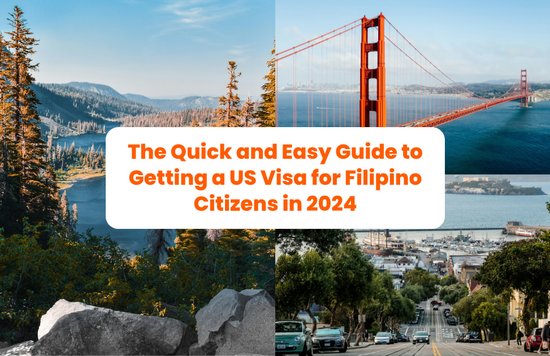
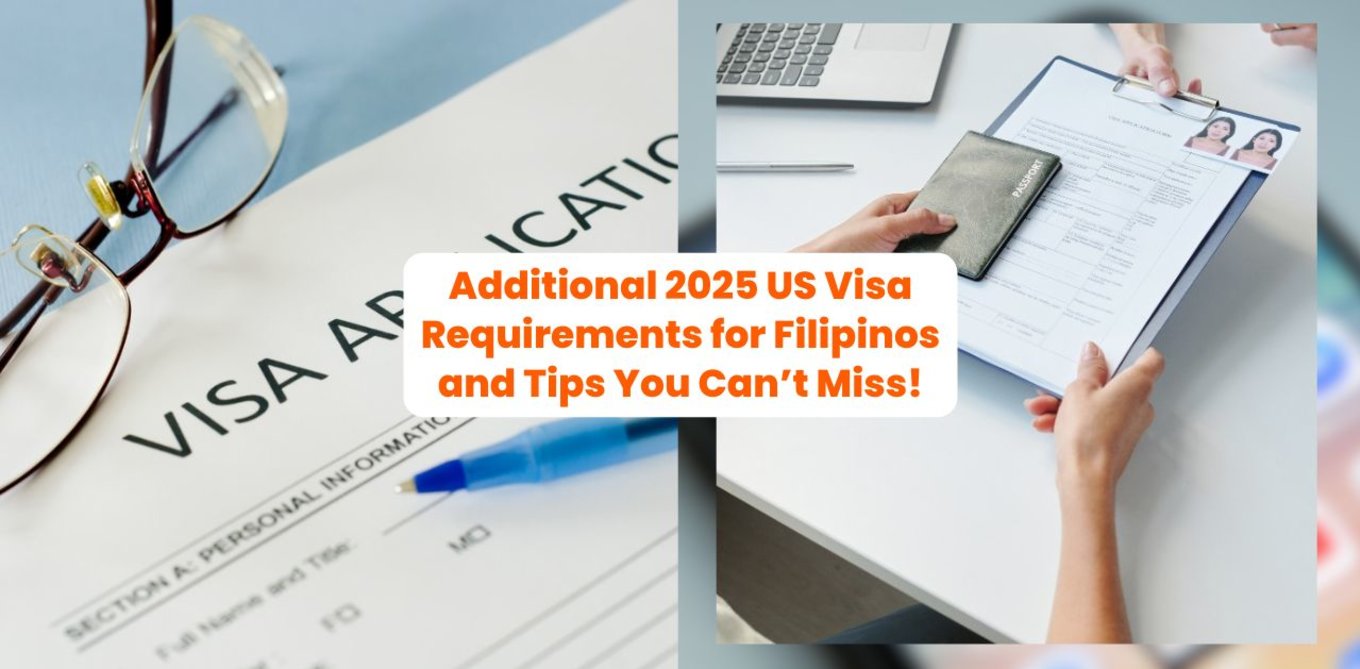
Off to USA?
Dreaming of seeing New York’s skyline, strolling along Hollywood Boulevard, or tasting real-deal Texas BBQ? The first step is getting your tourist visa approved—and yes, we know it can feel like a nerve-wracking experience. But don’t worry—we’ve got your back! If you’re ready to start your journey to the USA, here are some essential reminders about the US visa requirements in the Philippines and insider tips to make sure your US visa appointment goes smoothly.
With a few updates to the process (hello, public social media accounts!), you’ll want to go into your interview prepared and confident. Let’s break it down!
Explore the USA with these Klook deals!
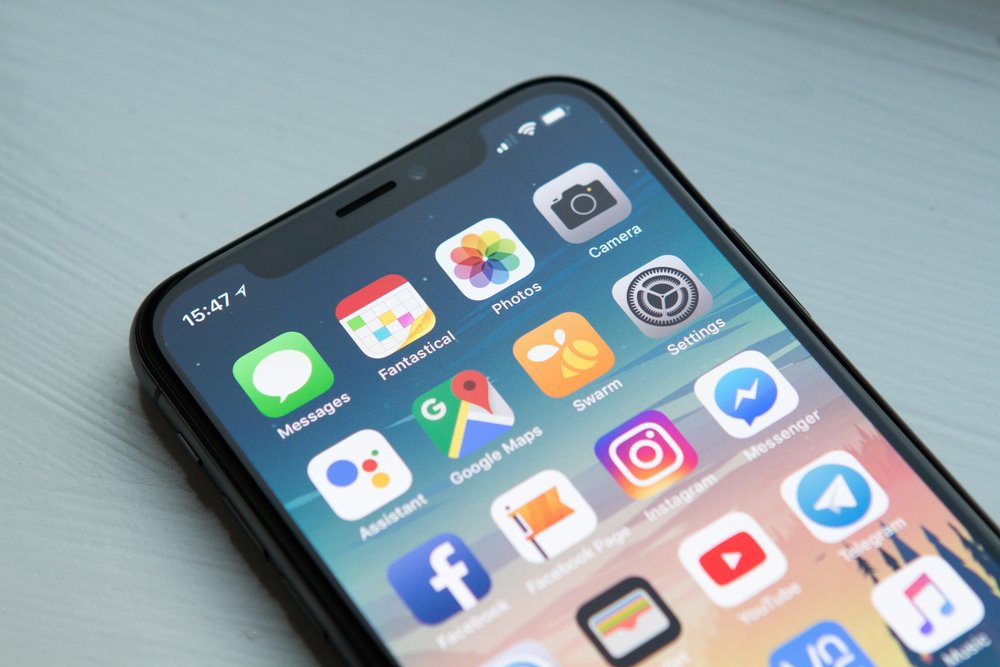
📲 Why Going Public on Social Media Matters
williamtm@Unsplash
First things first, here’s a new and important update on the US visa requirements in the Philippines that caught many by surprise: applicants for F, M, or J visas are now required to set their social media accounts to “public.”
This is part of the United States government’s standard vetting process to verify your identity and background information. Make sure your accounts are accessible to the consular officers before you head to your US visa appointment. If they find that your accounts are private, it could lead to delays or even affect the outcome of your application.
So while you’re getting your documents in order, take a moment to review your Facebook, Instagram, Twitter, and other social media privacy settings.
All set on social media? Now let’s tick off the rest of your US visa requirements!
✅ Check the Latest US Visa Requirements in the Philippines
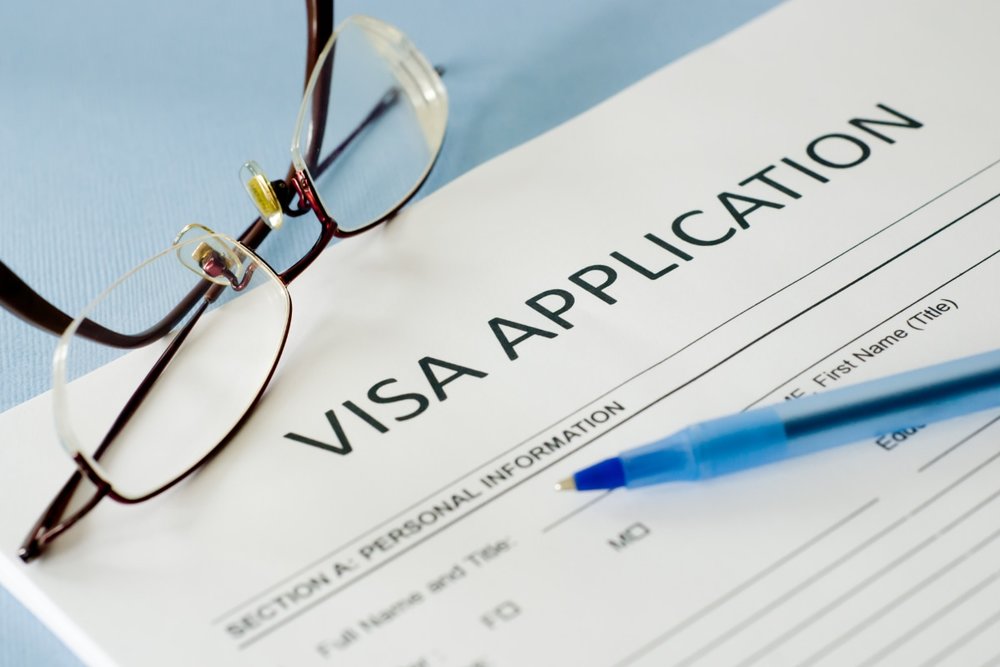
Before you even think about your travel outfit for JFK airport, make sure you’ve got all the boxes ticked when it comes to the updated US visa requirements in the Philippines. While the basics remain the same—like filling out the DS-160 form, paying the visa fee, and preparing your supporting documents—there’s a new detail to remember:
The US Embassy in Manila now asks applicants of F, M, or J nonimmigrant visas to set their social media accounts to public as part of the vetting process. Yep, you read that right. According to the Embassy, this is a mandatory step and not just a suggestion, so double-check your account settings before your US visa appointment date!
Aside from that, here’s a quick checklist of the US visa requirements in the Philippines for tourist visas:
- Completed DS-160 form
- Valid passport
- MRV (Machine-Readable Visa) fee payment receipt
- 2x2 recent photo
- Proof of ties to the Philippines (like employment certificate, business documents, school enrollment, etc.)
- Travel itinerary or invitation letter (if applicable)
Pro tip: Keep your documents neatly organized in a clear folder. This shows you’re prepared and saves time during your US visa appointment.
📅 Book Your US Visa Appointment Early

After gathering the necessary documents and paying your visa fee, it’s time to set your US visa appointment. Demand for slots can be high, so it’s best to schedule your interview early! You can book your slot online through the US Embassy’s website and choose the most convenient date and time.
Remember, you’ll need to bring your confirmation page to your US visa appointment, so print that out as soon as you secure your slot. If you miss your appointment or fail to show up, you may face delays in rescheduling.
Many applicants recommend booking morning slots as they tend to be less stressful, with shorter queues. And don’t forget: get there early, dress appropriately (smart casual works great!), and answer confidently during your interview. After all, you already know the US visa requirements in the Philippines, so you’re all set to impress.
✈️ Final Tips to Ace Your Application
Getting approved for a US visa is all about preparation and confidence. By staying up to date with the US visa requirements in the Philippines and booking your US visa appointment smartly, you’re already halfway there.
Here are a few last-minute tips:
⭐ Bring only what’s required—extra documents can actually slow things down.
⭐ Be honest with your answers during the interview.
⭐ Stay calm! The consular officers just want to confirm that you intend to return to the Philippines after your trip.
With these tips and a positive mindset, you’re closer than ever to ticking the USA off your bucket list.
📌 Quick Recap Before You Start
✅ Create an account on the US Department of State’s Bureau of Consular Affairs Visa website to track your application, pay fees, and book your US visa appointment.
✅ Fill out the DS-160 form completely and accurately.
✅ Upload a compliant 2x2 photo and print the confirmation page.
✅ Pay the visa application fee online or over the counter and keep your receipt.
🌟 Ready to Make It Happen?
Getting a US visa doesn’t have to be intimidating. With the updated US visa requirements in the Philippines, a clear checklist, and a strategic US visa appointment, you can approach the process with confidence—and excitement!